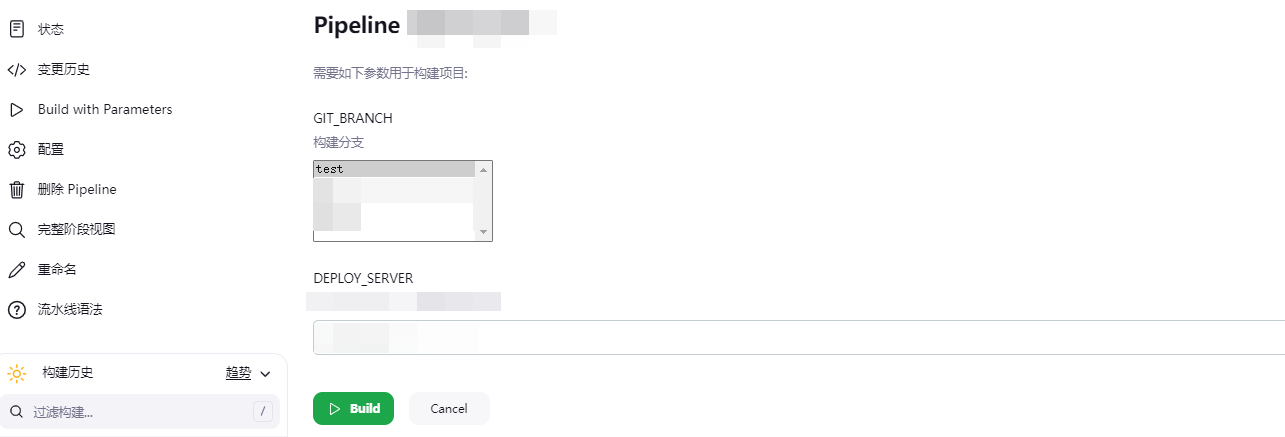
本文介绍了一种基于Jenkins的CICD通用实践,通过编写脚本实现单体服务的自动化部署。文章详细描述了使用Jenkins构建、部署和归档单体服务的具体步骤,包括使用git获取代码变更、构建过程、部署到远程服务器以及归档输出文件等环节。
整理一个自己写的基于Jenkins CICD通用的单体服务的部署剧本
1
2
3
4
5
6
7
8
9
10
11
12
13
14
15
16
17
18
19
20
21
22
23
24
25
26
27
28
29
30
31
32
33
34
35
36
37
38
39
40
41
42
43
| node {
def commitId
def outputFile
git changelog: true,
branch: "${params.GIT_BRANCH}",
url: "https://gitlab.com/demo/oadmin.git"
commitId = sh(script: "git rev-parse --short HEAD", returnStdout: true).trim()
def currentTimestamp = new Date().format('yyyy-MM-dd_HH-mm-ss', TimeZone.getTimeZone('Asia/Shanghai'))
outputFile = "${params.DEPLOY_SERVER}-${BUILD_NUMBER}-${commitId}-${currentTimestamp}"
stage('Build') {
// 打包命令
sh 'export PATH=/var/lib/jenkins/node-v12.14.0/bin:$PATH && npm install && npm run build'
// 保存输出
sh "mv dist /${outputFile}"
// 部署产出脚本
sh "echo 'ln -snf /www/release/${outputFile} /www/web/latest' > deploy.sh;chmod +x deploy.sh"
}
stage('Deploy') {
//远程服务器部署ssh密钥
withCredentials([sshUserPrivateKey(credentialsId: 'jenkins_id_rsa', keyFileVariable: 'SSH_KEY_FILE', passphraseVariable: '', usernameVariable: 'SSH_USER')]) {
// 上传zip文件
def remote = [:]
remote.name = 'remote_server'
remote.host = "${params.DEPLOY_SERVER}"
remote.user = SSH_USER
remote.identityFile = SSH_KEY_FILE
remote.allowAnyHosts = true
// 把outputFile产出文件上传到服务器部署目录下
sshPut remote: remote, from: "${outputFile}", into: '/www/release'
// 生成环境配置二次check
if ("${params.DEPLOY_SERVER}" == 'prod') {
input 'Are you sure you want to deploy to production?'
}
// 执行部署脚本,传入zip文件名作为参数
sshScript remote: remote, script: "deploy.sh"
}
}
stage('Archive') {
// 归档outputFile文件
archiveArtifacts artifacts: "${outputFile}", fingerprint: true
}
}
|


